How to Install TWRP recovery on Moto G6 and G6 Plus
Applying custom actions are becoming common among the Android users. Even we appreciate those custom actions that help to improve productivity and customization. With custom operations, you can access the core settings on your phone. And shape them according to your appetites. The TWRP recovery image is one of them that revamps the recovery menu with advanced features. Through this tutorial, we will help you to flash/install the TWRP recovery image on your Moto G6 and G9 Plus smartphone. This custom aspect enhances the overall user experience.
Basically, the TWRP recovery is a custom recovery image based on CWM modules, the most popular custom recovery for Android phones. However, innovatively it provides a touch-based interface for users. Once you have entered into the recovery mode on Moto G6 smartphone, you can perform actions by touching the options. Moreover, it is much power recovery menu. Just like most of the Android phones, the Moto G6 and G6 Play come with stock recoveries that have many limitations. With stock recovery, you can perform only official operations. Whereas, through a custom recovery like TWRP, you can install custom firmware, mods, customize the Android software, and do even more.
That makes TWRP recovery so special. However, installing a TWRP recovery on Moto G6 and G6 Plus is not an official operation. That means, if you continue with the steps we mentioned in this guide, you’ll lose the warranty on your phone. This recovery image and options, both are not associated and supported with/by Motorola in any way. Thus, you must think multiple times before you proceed with this action. Afterward, there is a way to regain the warranty. But for that, you’ll have flash the stock firmware on your phone. This downgrading process restores the Android operating system along with all other aspects.
Most importantly, proceeding with the installation of TWRP recovery can corrupt your phone too. Therefore, we strongly recommend you to create a general backup of your phone. That should include your photos, videos, messages, call logs, and documents. Our motive is to make this process as safe as possible. And reduce the risk of losing data as low as possible. Preferably, you can sync your files with Google Drive, or use other backup applications available on the Google Play store. If something happens to your phone, or if it gets wiped out, we won’t be able to undo that process.
In order to complete this installation process, the bootloader should be unlocked on your phone. Otherwise, even if you put these steps, they won’t have any impact on your phone. The bootloader is a small program that runs at the boot up times and prevent Android software from being edited by external programs and commands. Therefore, you cannot customize the Android until you unlock the bootloader of the phone. If you’ve not unlocked bootloader yet, you must follow guide: Learn how to unlock bootloader on Moto G6 and G6 Plus.
Once you achieve the TWRP recovery on your phone, then you can proceed with the rooting process. That will give you further access to extended customizations. There are tons of root applications to improve productivity and usefulness of your phone. For Moto G6 and G6 Plus users, we have gathered some of the most useful applications that you must see — the list of the best apps for Moto G6 and G6 Plus. Before we proceed to the core purpose of this tutorial, we must discuss the important prerequisites involved installing the TWRP recovery image on Moto G6 and G6 Plus smartphone.
Prerequisites
- This process and mentioned files are merely for Moto G6 and G6 Plus smartphones. You’re not supposed to impose them on any other smartphone. That can cause some uncertain problems with your phone. Therefore, you should follow this tutorial very carefully.
- Installing a custom recovery like TWRP is against the manufacturer terms and condition. Thus, you’re going to void the warranty on your phone.
- We highly recommend that you backup all the important stuff present on your phone. We want to reduce the risk of losing files and data. After you follow this procedure, you might end up losing the data present on your phone.
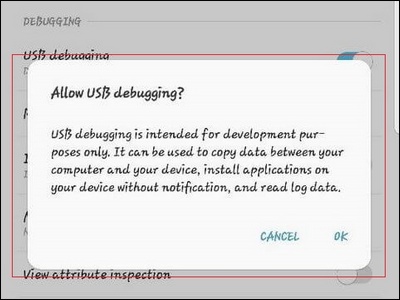
- You must enable the USB Debugging on your phone. Since we are about to connect your phone to the computer and install TWRP recovery, you need to this option to be enabled. To enable this option following — enable USB Debugging on an Android phone.
- To execute this operation, you must have a Windows-based computer, desktop or laptop. And the USB cable for your phone.
- Must verify the battery level of your phone. Anything before 50% is not suitable. Charge your phone to this level before stepping ahead.
Must read all the prerequisites mentioned above thoroughly and make sure to complete the requirements.
Now proceed further to the core part of this tutorial.
How to Install TWRP recovery on Motorola Moto G6
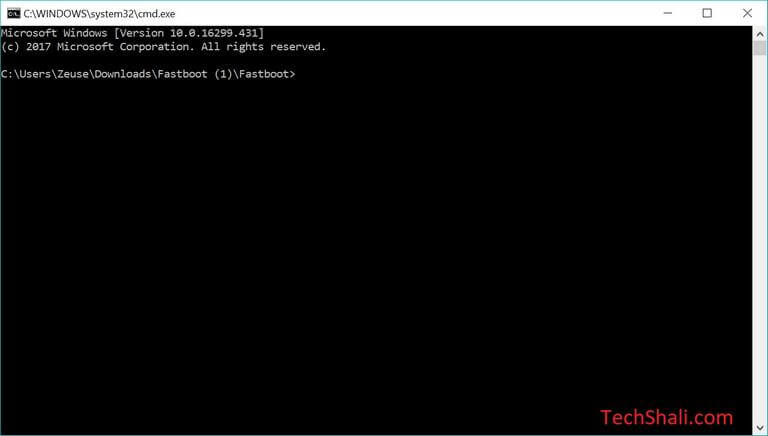
- Download the minimal fastboot package from →here and extract it your computer, on the desktop for quick access. From the extracted files, double tap on Run Me.bat file to run the minimal fastboot tool. The following screen will appear:

- Now, download the TWRP recovery image file from →here (MotoG6-ali-TWRP.img). And save it in the same folder where you’ve found the Run Me.bat file (with the extracted folder of the minimal fastboot tool).
- Next, download the no-dm-verity package from →here (http://Force_Encryption_Disabler_For_ALI_Oreo_v2.zip) and save it int the minimal fastboot tool just like the recovery image.
- Now, using a USB cable connect your phone the computer. Make sure that is in ON condition. The fastboot tool will automatically recognize it.
- Now, on the minimal fastboot tool command prompt type following command:
- adb reboot bootloader
- Next, type this command:
- fastboot flash boot no_dm_verity_package_name_goes_here.img
- Then, this command:
- fastboot flash recovery MotoG6-ali-TWRP.img
- In the end, type following command to reboot your phone:
- adb reboot
- Take off your phone from the computer.
That’s all you gotta do to install the TWRP image on your phone. Congratulation, you’ve successfully installed this piece of custom recovery on your phone. Now, with other different tweaks, you can have real fun with your smartphone. There is one more thing to share with you, there is an emulator called PPSSPP. With this emulator, you can play most of the PSP games like God of War, Dragon Ball Z and many more. Must follow the below guide:
- Best settings for PPSSPP to play PSP games on an Android phone
That ends our tutorial here on how to install TWRP recovery on Moto G6 and G6 Plus smartphones. Now, you should be able to execute this process on your phone. If you stuck within this process or face any kind issues, leave your comments below. We will reach out to you with possible resolutions.


after runining last command adb rebot i get error device not found i need drivers phone not showing when connect to pc
Yes, your device is not recognised. You must install the USB drivers.