How to Factory / Hard Reset Huawei Mate 20 Pro
If you ever indulge yourself with an Android-powered smartphone, you would know the importance of maintenance. Otherwise, your ultra-powerful smartphone would become a garden snail over time. If you find that performance has been declined badly, you’re facing heaps of bugs like lags, freezes, unnecessary errors, etc., or you are giving your phone to someone else, you must factory /hard reset your phone. In this tutorial, we’ll help you to perform a hard reset/factory reset on Huawei Mate 20 Pro for better performance, stability, and privacy.
The factory reset wipes the phone thoroughly that leaves no space for third-party apps and files to persist. It formats phone’s internal memory and calibrates the overall performance of the phone. If you’re facing lots of problems related to performance and stability then you could perform this reset. That will fix all the issues and bugs present on your phone and turn your phone into a factory fresh piece. There are two different methods; either you can use the ‘Reset’ option present within the Settings or use the Recovery mode. Both the methods are pretty simple and you’ll master them easily.
The recovery mode method becomes essentially important when the phone becomes unresponsive or stuck at the boot logo. Since recovery mode runs independently, you can boot into this mode anytime you want and perform the hard reset on your phone. It removes most of the bugs and problems resetting the phone to work naturally. Many users report multiple problems after an update, even in some cases, their devices won’t boot beyond the boot logo. Or one could brick the phone while installing some sort of custom firmware or mod. In such conditions, the factory reset is like life-savor. Also learn, how to take screenshots on Huawei Mate 20 Pro smartphone.
During this tutorial, we’ll learn different methods to factory reset Huawei Mate 20 Pro smartphone. There are multiple benefits of applying this reset. In regards to privacy, this action is a must. Like, if you’re about to give your phone to someone else or selling it out, you should wipe all of your personal information on the phone. The easiest way to perform this task is performing a factory reset/hard reset. That will format your phone and remove all of your stuff instantly. So, another user won’t be able to use or misuse your personal data and files. That’s a good course of action you must perform before selling out your phone.
We will learn both the methods; one through the Settings menu and another using the recovery mode. If you’re able to access the Settings menu, the first method is good enough for you. Or else, the recovery mode would be the best for you. You can enter into the recovery mode on your phone anytime you want. That doesn’t require so much efforts. Further, you should know that performing this action will wipe your phone instantly and that’s irreversible. That means, we cannot undo this process once performed. Therefore, you better backup all important stuff before you step ahead. Now, the following steps should help you in resetting your Huawei Mate 20 Pro smartphone.
How to Factory / Hard Reset Huawei Mate 20 Pro
- Open the Settings menu on your phone.
- Then, tap on ‘Reset’
- Next, tap on ‘Factory data reset’
- And finally, tap on ‘Reset phone’
That will format your phone thoroughly and remove all third-party apps, downloads, and file. As soon as the process is finished, it turns your phone into a factory fresh piece. Once your phone is turned up, you gotta re-enter your Google account details to use it.
That’s how we usually perform factory/hard reset on Android phone. This process removes both, cached files and data. It calibrates both, internal memory and actual performance of the devices. To sustain better performance, we recommend you to perform this action once in four to six months. This will remove all the clutter data/junk files that have been gathered on your phone.
Basically, these clutter data/junk files resist the phone to work normally. And over time, it creates lots of different problems and bugs.
There’s one more way to perform this action. If your phone is unable to boot up for some reasons, it generally happens after we update or flash custom firmware, then this second option will help you.
Hard/factory reset Huawei Mate 20 Pro using Recovery Mode
Basically, the Recovery Mode serves a few maintenance-related options. The Huawei Mate 20 Pro comes with EMUI recovery mode, a minimal version. This stock recovery doesn’t have lots of options though, still, you get factory reset option there. If you want to improve its abilities, you must indulge yourself with a custom recovery like TWRP. That will help you get the most out of this recovery mode.
This runs independently of Android OS. Therefore, even if you’re unable to boot beyond the boot screen/logo, you can use this mode. Using the recovery mode, you can perform a factory reset on your phone. That will remove bugs and issues causing your phone to malfunction.
Here’s is how you can boot into the recovery mode and reset your phone:
- Turn OFF your phone using the Power Key.
- Now, boot into the recovery mode using the following steps:
- Press and hold the Volume Up button.
- While holding the Volume Up button, connect USB charger to the phone.
- Within a few seconds, your phone will boot into the recovery mode.
- Now, remove the USB charger.
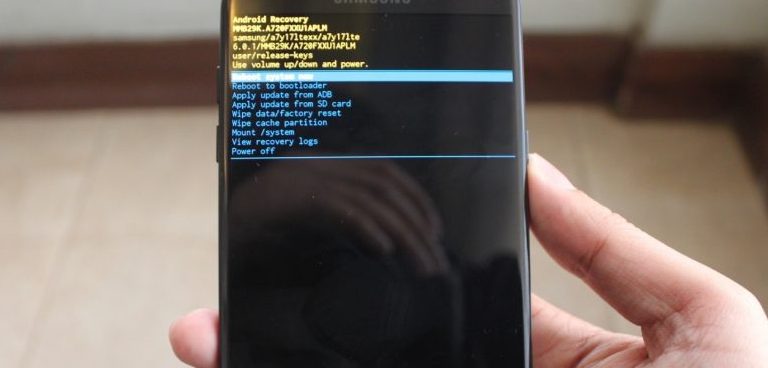
- Under the recovery mode, tap on ‘wipe cache/factory reset’.
- Perform this action.
- Once this action is performed, exit the recovery mode.
Now, allow your phone to boot up. For the first boot up, it might take several minutes. That’s completely natural and it happens. After that, it will bring you to the setup screen. Enroll your Google account details to use your phone.
That’s how you can reset your Huawei Mate 20 Pro using the Settings menu and the recovery mode. You must learn this method. This reset will help you fix the most common problems that usually happen to Android smartphones.
That ends our tutorial here. We highly hope that our readers would find this tutorial helpful. Do share your valuable feedback and thoughts in the comment section below. We would love to hear from you and improve our tutorials.