How to Install Official TWRP on Samsung Galaxy S9
The TWRP recovery allows users to make the best possible use the recovery mode. While we compare it to the native one, we figure that recovery mode generally has stock restrictions that won’t allow users to modify and customize their smartphones. That’s where you must associate yourself with a custom recovery. In this tutorial, we’ll help you to install the Official build of TWRP recovery on the Samsung Galaxy S9 and S9 smartphones. That way, you can use the recovery more effectively and customize your properly.
Since this build is official, you won’t experience any kind of bug or issue. Basically, TWRP is a custom recovery that overcomes the stock restrictions. It allows users to install custom firmware, mods, and perform many other operations. Whereas, on stock recovery, you won’t be able to install a custom firmware or anything else. Moreover, it has some limited access and options. We often use recovery mode to troubleshoot some common problems on our phone. With the TWRP recovery, it seamlessly becomes easier to maintain performance and customizing aspects.
While TWRP recovery has so many benefits, there are disadvantages as well. First of all, you should not link the TWRP recovery with Samsung or Google in any way. Basically, it is a custom recovery, developed and distributed by third-party developers. If you choose to install this recovery, it will trip the KNOX which evidently voids the warranty of the phone. Therefore, you should consider this risk while taking this measure. If you choose to install this custom recovery, we have this step-wise-step conclusive tutorial for that purpose. If you follow this correctly, you should be able to install the TWRP recovery on your Samsung Galaxy S9 and S9 smartphone.
Additionally, we recommend you to back up your Android phone. Since we are applying a custom operation, there are some chances that we might get stuck with some problems. In order to remove those problems, we might need to perform some troubleshooting actions like clearing cache and wiping the phone’s internal memory. Therefore, you better safeguard these things. For that purpose, you could follow our guide on how to create a backup on Samsung smartphones. This guide includes all the required actions to backup files like images, videos, contacts, messages, and documents. Or just simply use the Smart Switch app (it comes preinstalled) to do this task.
To flash a custom recovery image, we will use the Odin tool. Basically, Odin is the most popular tool provided to Samsung users to flash firmware images and do several other tasks. There’s no harm in the customizing phone until you know the appropriate steps. During this tutorial, we will flash the TWRP recovery on the Samsung Galaxy S9 using the Odin tool. Thus, it includes some preparation as well. You don’t need so many resources. Only, few of them required to complete this action. While we perform this action, you need a Windows-based computer. The Odin tool works on Windows operating system. Therefore, before we begin, you should arrange a Windows-based computer, laptop/desktop.
Moreover, ensure that you use the original USB cable to connect your phone to the computer. Or else, you might face some connection problems. Further, to ensure that your phone is connected and recognized by the Odin tool and computer, you must install the USB Drivers. You can download the Samsung USB Drivers from →here and install them on your computer. Basically, USB Drivers provide an appropriate interface between the device and computer. That ensures that your phone is operatable through the computer. Otherwise, the Odin tool might not work. So, make sure to install these USB Drivers on your phone. Must see our list best apps for Samsung Galaxy S9 smartphone. These should help you get the best from your phone.
The TWRP recovery improves the usability of this recovery menu. Apart from the fact that it removes stock restrictions, it also extends the options and feature of this mode. With the TWRP recovery, you could manage different partitions, memory, and back up the current firmware, which is usually known as a NANDROID backup. Therefore, we recommend you to thoroughly research this image. That will help you learn more about this custom recovery image. And through that, you can get the most out of this recovery mode. This should help you customize and tweak your phone more precisely.
You must re-consider before you flash this custom TWRP recovery on your Samsung Galaxy S9 phone. This action will void the warranty on your phone. The KNOX is tripped during this procedure. If you ever wish to remove this custom recovery image, you would need to flash stock firmware on your phone. That will restore stock aspects of your phone including firmware, recovery, mods, and configuration. However, that might not fix the warranty that has been voided. There are chances that flashing stock firmware won’t reset the KNOX. Therefore, we recommend you to check with your phone manufacturer about this thing.
How to install official TWRP recovery on the Samsung Galaxy S9 and S9 Plus
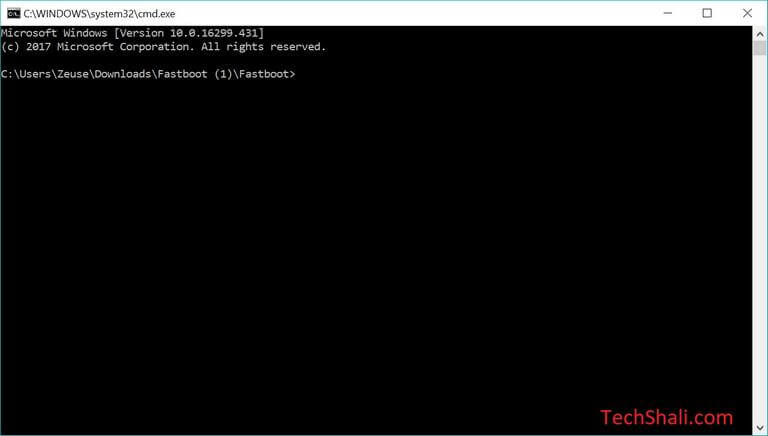
- Start by downloading the Odin tool from here. Extract the content of the package on your computer to obtain the Odin tool and run it. This tool looks like this:

- Now, download the Official TWRP image file (.tar) from below links:
- Now, turn OFF your phone using the Power key.
- And boot into the Download Mode – press and hold Power, Bixby, and Volume Down buttons for a few seconds. Release these buttons when the Android Warning screen appears. You should enter into the recovery mode.
- Now, use the USB and connect your phone to the computer. The Odin tool should detect your phone. If that doesn’t happen, try to re-install the USB Drivers and try again.
- Tap on the ‘AP’ button and load the recovery image file (.tar) that you’ve downloaded.
- Then, tap on ‘Start’ button and wait till it completes the flashing process.

That’s it, you’ve successfully installed the official TWRP recovery image on your phone. However, still won’t work because this phone uses dm-verity that restricts this phone to be customized. Therefore, we need to deal with it.
This is can be easily fixed, you just need to flash the no-verity-opt-encrypt-samsung-1.0.zip (Kernel) to get over this problem. The following steps should help you.
- Download the dm-verity fix file from →here (http://no-verity-opt-encrypt-samsung-1.0.zip).
- Turn ON your phone and transfer this file from computer to your phone.
- Now, reboot your phone into the recovery mode, follow our guide on how to enter recovery mode on Samsung Galaxy phone.
- Under the recovery mode, tap on ‘Install’ and flash this “http://no-verity-opt-encrypt-samsung-1.0.zip”.
- Exit this mode once this file is flashed.
That’s how you can easily flash the TWRP recovery on Samsung Galaxy S9, that is fully functional. If you found that your phone has stuck or not booting beyond the boot logo, you must wipe your phone. That will format your phone. Therefore, you better back up your phone before proceeding further. Additionally, you can follow our guide on troubleshooting common problems that happen after an update.
That ends the tutorial that we have created for #GalaxyS9 users. We hope that our readers would find it helpful. If you find any trouble or problem during this tutorial, do let us know. We are open for your comments and feedback. We would love to help you with an appropriate solution.