Windows 11 Secure Boot: How to Enable

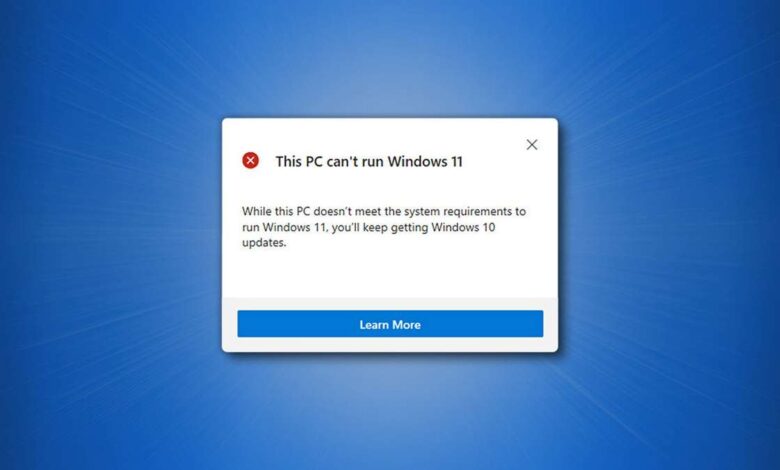
If you want to upgrade your PC to Windows 11, you will need to boot it safely. Safe-booting the system, is becoming increasingly important for PCs. Activating the feature is a prerequisite for installing Windows 11. But not every computer supports this option. We will show you how to activate Secure Boot on your PC, so you a
What is Secure Boot?
The secure boot is a BIOS feature that ensures that your PC starts up safely. Before the operating system boots, this option checks if parts of the firmware have been compromised – for example, by viruses or other malicious code. In order for the system to start with an activated secure boot, the relevant parts of the system must have a valid security key, i.e. they must be signed.
This is a security feature that provides effective protection against hackers and malware. However, at the same time, this option prevents alternative operating systems such as Linux or some older software from running on the PC.
Secure Boot is mainly supported by newer computers that have appeared on the market in recent years. This feature may not be present in older models. The same goes for motherboards. Newer models generally support this option, but it is often not activated at the factory.
The computer BIOS must be set to UEFI mode in order to use secure booting. This is the case for the vast majority of off-the-shelf PCs on the market since 2012.
Current laptops should already have this feature activated. The latter is especially true for many personal computers. Almost all modern motherboards support UEFI mode, but many users discard this mode when first setting up their PC and install in legacy mode instead. In most cases this is not a problem, but it should be a stumbling block when trying to upgrade your computer to Windows 11.
If you have built your own computer, you should check whether the motherboard supports UEFI mode. You can find information on this either in the manual or on the manufacturer’s website.
UEFI or legacy BIOS?
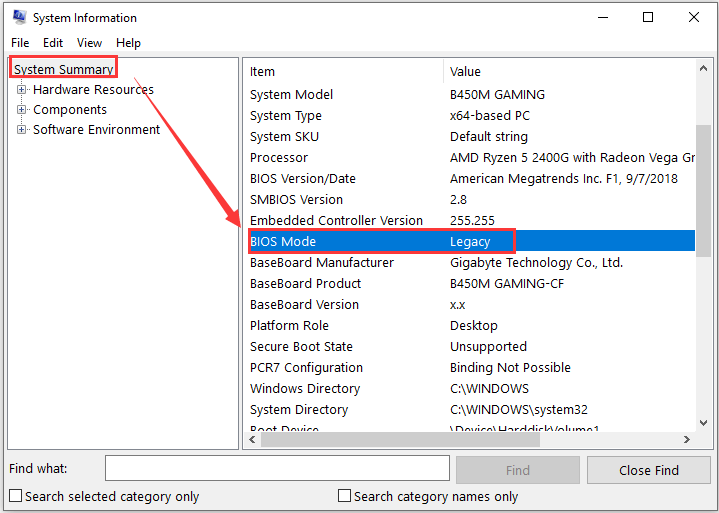
You should first check whether your PC BIOS is in UEFI mode or legacy mode. To do this, open the “System Information” application, which you can search for in your Windows. Find the “BIOS” entry and check whether it says “UEFI” or “Legacy”.

If your BIOS is already running in UEFI mode, you can skip the next item and go straight to the next one in this article. However, if it is still running in legacy mode, you will need to switch to UEFI mode first.
In fact, the best way to switch to UEFI mode is to completely configure the system from scratch, including reinstalling Windows. The two modes use a different partitioning scheme on the system hard disk. While Legacy uses the old MBR partition scheme, UEFI uses the newer GPT.
Since a completely new setup is out of the question for many users, Microsoft has already introduced the MBR2GPT program with Windows 10 version 1703. However, it has no GUI of its own and can only be controlled via commands from the command line.
What should be done next is basically reformatting the system hard disk without losing any data. Although the process has been tried and tested and also went smoothly during testing, we recommend that you back up your system as a precaution before proceeding.
- Reboot your computer and, while holding down the Shift key, press the “Reboot” button.
- Wait for your computer to reboot in safe mode.
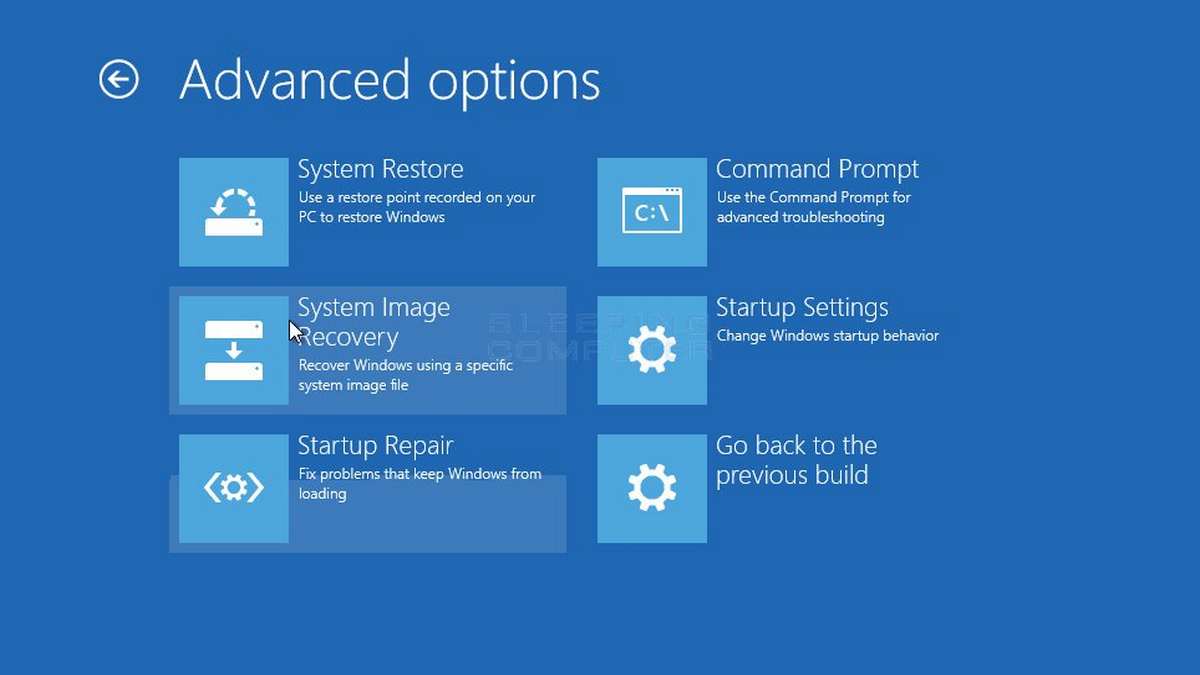
- Click Troubleshooting> Advanced Settings> Command Prompt.
- Log in to your account and enter your password if necessary.

The classic command line is now started, which you can use to initiate a transition from the MBR partition scheme to the newer GPT scheme. First of all, you should check if your disk can be converted to the new partition scheme at all. To do so, enter the following command and confirm it by hitting Enter:
mbr2gpt/validate.
When the test completes with the “Test completed successfully” line, your drive is ready for conversion. If the test gives a different result, you should cancel the process at this point. In this case, you really only need to reconfigure your computer.
You can operate the MBR2GPT tool using commands at the command line. However, if the medium passed the test, you can start the conversion using the command
mbr2gpt/convert
The conversion should take anywhere from a few seconds to several minutes. If the conversion was successful, the entry “Conversion successful” should appear. However, it is possible that the entry “Failed to update ReAgent.xml, try manually disabling and enabling WinRe” will also appear. This means that the recovery environment could not be migrated. However, you can fix this error later in Windows.
Once the conversion is successful, reboot the computer but be sure to switch directly to BIOS after startup by holding down the key needed to do so shortly after powering on. Depending on the motherboard manufacturer this is either F1, F2, F8, F12, ESC or Del. Consult your motherboard manufacturer’s manual or website beforehand to find out which key you can use to enter BIOS.
Then search the BIOS for the option to switch from legacy mode to UEFI mode under “Boot” or “Boot Options”. The exact menu path may differ depending on the motherboard. Again, it is best to consult the manufacturer’s manual or website for advice. Often the legacy mode in the BIOS is also referred to as compatibility mode or CSM compatibility mode.
Once you have made changes to the BIOS, you can save your settings, exit the BIOS and restart your computer. After restarting Windows, open System Information again and check whether the BIOS now shows the “UEFI” entry.
Must see:
Correcting conversion errors
If the line “Failed to update ReAgent.xml, try manually disabling and enabling WinRe” appears during conversion from MBR to GPT, you can fix it later in Windows.
- Search for “Command Prompt” in the search box.
- Right-click the application and select “Run as administrator”.
- At the command line, execute the following commands one at a time:
- reagentc/disable
- reagentc/enable
Activating Secure Boot in BIOS
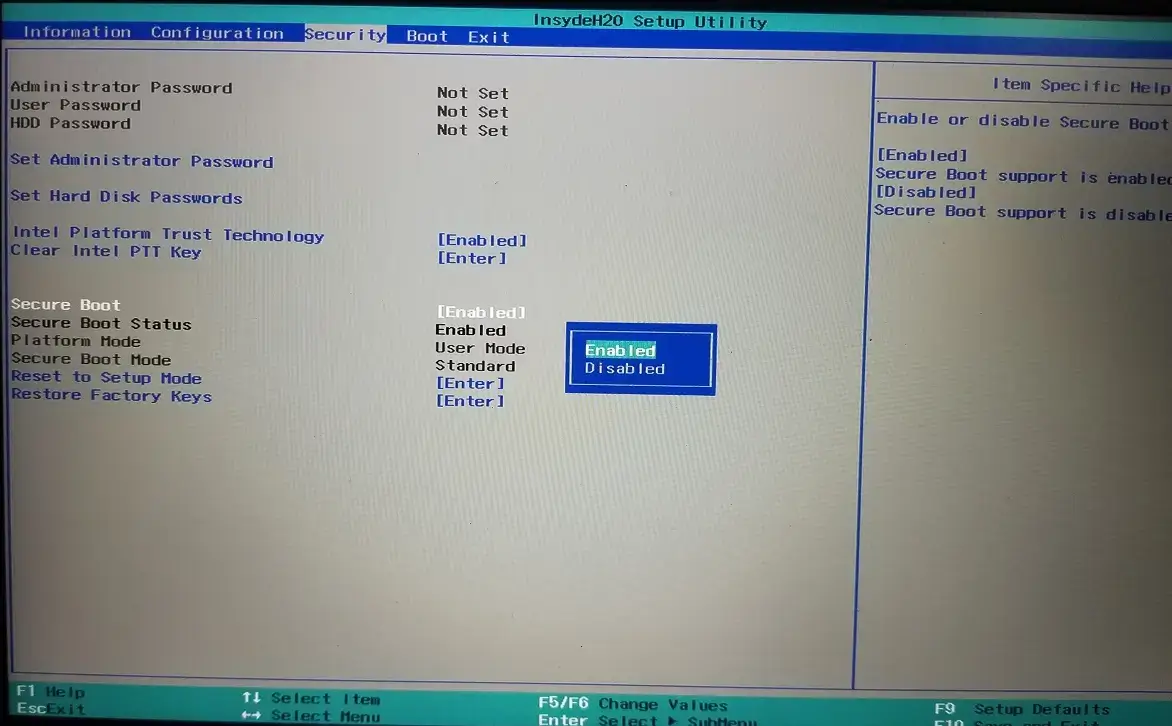
To activate Secure Boot, you need to go into your computer’s BIOS. To do this, reboot your computer and hold down the key that will take you to the BIOS immediately after powering on. Depending on your motherboard manufacturer this may be different. Manufacturers usually use F1, F2, F12, ESC or Entf.

Now in the BIOS, you need to find the settings for secure boot or secure startup. It is usually found under Security, Boot, Security, Boot Options, Security, or Authentication. The exact menu path may differ from motherboard to motherboard so you should also refer to the manual here if in doubt.