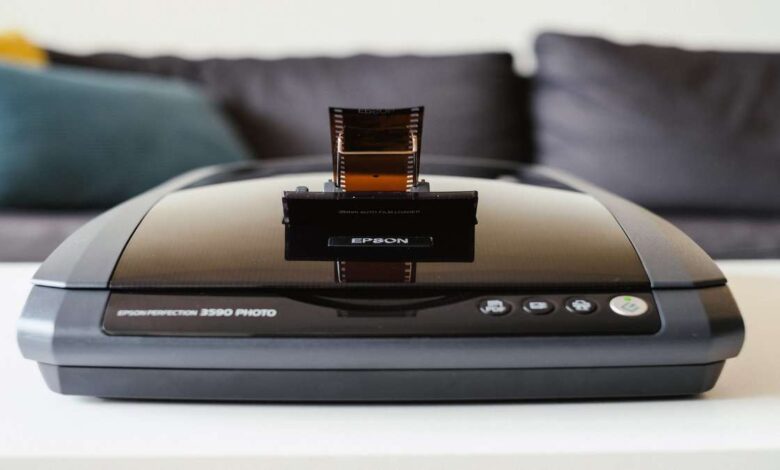
How to convert 8mm film to digital using a flatbed scanner

Film scanners are the best devices to convert your old films and bring them into the digital realm. If you have a bunch of old negatives of photos or videos, then a film scanner such as a flatbed scanner can be a great choice to convert your old reels into a digital format.
Film scanners are designed to handle only a roll of negatives so you can keep changing 8mm film to digital in the quickest time possible. There are plenty of scanners available on the market, some are cheaper, and some are on the expensive side.
In either case, the result will be the same, i.e., You will get a digital film of your old reels. A very similar scanner is the flatbed scanner which is more of a general scanner where you can also scan documents, prints, and 8mm films.
Flatbed scanners are pretty interesting to use. Hence, this post will cover their uses and how you can convert your 8mm films with the help of a flatbed scanner.
Advantages of using a flatbed scanner for 8mm films
- Flatbed scanners are affordable
- Works fantastically with negative rolls
- The flatbed scanner keeps the beauty of your 8mm reels alive.
- Not time-consuming as projector modifications
- Versatile use such as slides, prints, and photo negatives.
- Produces 720p to 1080p HD output.
- The flatbed scanner is portable and works with multiple notebooks.
- The flatbed scanner and software combined can extract the images in the film frames without blurring them.
Method of transferring your 8mm films into a flatbed scanner
To transfer your 8mm films into digital video;
- You will need a flatbed photo or film scanner.
- The scanner has to be plugged into your Windows, Mac computer, and CineToVidPro.
- You will then have to build a mediator to run through the glass present inside the scanner. You can use glass the same size as your 8mm film and glue it using the adhesive tapes. Then put the guide glass over the scanner glass.
- Doing this is important as your 8mm film will stay aligned inside the scanner glass to get a straight print of your 8mm film.
- Before you start scanning, make sure your workspace is clean, your scanner is extremely clean with no dust, and clean your 8mm films while feeding them in the scanner.
- To avoid overexposure to light in your digital reels, you have to make specific arrangements, such as setting the exposure flat or keeping the dynamic range to the optimum to get proper shadows or highlights.
- All of these settings are there in your flatbed scanner software. You can manually do all the light settings and keep it at your desired exposure.
- The software might also have a color corrector, but you’ll have to command certain settings. In the scanner preview, select the filmstrip without sprocket holes, as they can ruin the quality and exposure of your digital film.
- If you want to keep the sprocket holes, open the level settings and select: Red, Green, and Blue values. Now go back to the original preview window, except now you’ll be selecting filmstrip with the sprocket holes. In the level, the window enters the color values you found earlier. You can keep the sprocket holes and have optimum exposure or saturation.
- Also, learn the count of how many frames your scanner can get in each scan; 16 F/scan is a good figure. Hence, make sure your scanner offers a similar or more frame count.
This is how you can run your 8mm film through a flatbed scanner. If you don’t want to run it manually, you can also build fully automated film transport hardware controlled by free software.