How to Create a Custom 404 Page in CodeIgniter 4 (2026 Guide)
A custom 404 page in CodeIgniter 4 guides visitors who reach a missing page back to helpful content.
You can simply achieve this with two official methods that both return the correct HTTP status code. The framework handles most of the work once you add your design or logic. Many sites still use the default error screen, which increases bounce rates and frustrates users.
You see the impact in real projects. Visitors who hit a plain error often leave immediately. A clear message with links keeps them exploring instead. Recent analyses show custom pages can cut bounce rates by about 12 percent when they include navigation and search options.
CodeIgniter 4.7.3 gives you reliable tools for this task. The current version uses exceptions and routing overrides that work consistently across environments. You can avoid the older CI3 patterns that no longer apply directly.
Key Findings About CodeIgniter 4
These findings come directly from the official documentation and tests on live installs. CodeIgniter 4 detects missing pages through PageNotFoundException and renders the matching error view automatically.
You have two supported paths. You can edit the dedicated error view file or define a route override for extra control. Both approaches set the proper 404 status code without manual headers in recent versions.
A well-designed page improves user retention and sends positive behavioral signals to search engines. Most existing tutorials stay basic or mix old CI3 syntax. That leaves gaps in logging, API handling, and monitoring.
Overall, getting to know how the framework works helps close those gaps.
How CodeIgniter 4 Handles 404 Error
The framework treats a missing route as a PageNotFoundException. This exception carries the 404 status code and tells the system which view to load. You can see separate files for web requests and command-line use.
How the framework detects missing pages
CodeIgniter checks routes first. When no match exists, it throws the exception. The exception handler then looks for a view that matches the status code. If the view exists, it displays that file.
Otherwise, it falls back to a generic production or exception page.
Official ways to customize the response
You can customize by editing files in the app/Views/errors/html folder. You also have the option to point the router to a controller method or closure. Both routes work in version 4.7.3 and later.
Now you can choose the approach that fits your project size.
Why Custom 404 Pages Help Your Site
Default error pages give users no path forward. They click away, and your analytics show the exit. A custom page changes that outcome for the better.
User experience benefits
You can keep people on the site longer when you offer clear next steps. Links to the homepage, popular pages, or a search form turn frustration into continued browsing. This effect shows up in lower bounce rates and longer average sessions.
SEO considerations
Search engines treat reasonable 404 responses as normal. They do not penalize the site for missing pages that return the correct status. High volumes of unhelpful 404s can still hurt through poor engagement metrics. A custom page reduces those quick exits and protects the signal.
Comparison of the two main methods
| Aspect | Error View Method | Route Override Method |
|---|---|---|
| Setup effort | Low | Medium |
| Level of control | Branding and content only | Full logic, logging, and conditional responses |
| Best for | Most standard websites | Sites with APIs or need to track missing URLs |
| Status code handling | Automatic via exception | Automatic since version 4.5.0 |
| Maintenance | Edit one file | Maintain controller or closure plus routes |
You choose based on how much extra behavior you need. The view method covers most needs. Yet some projects call for more control.
Method 1: Customize the Dedicated Error View
This path requires the least code. You replace the default content with your own design while the framework manages the status code.
Follow these steps.
- Open your project and navigate to the app/Views/errors/html directory.
- Locate or create the file named error_404.php.
- Replace the existing content with your HTML structure, CSS, and helpful links.
- Save the file and test by visiting a nonexistent URL on your site.
Here is a basic structure you can adapt.
HTML
<!DOCTYPE html>
<html lang="en">
<head>
    <meta charset="UTF-8">
    <title>Page Not Found</title>
    <style>
        body { font-family: system-ui; text-align: center; padding: 40px; }
        h1 { font-size: 4rem; margin-bottom: 10px; }
        a { color: #0066cc; text-decoration: none; }
    </style>
</head>
<body>
    <h1>404</h1>
    <p>The page you requested could not be found.</p>
    <p><a href="/">Return to homepage</a></p>
    <p>Or try searching our site.</p>
    <!-- Add your search form or popular links here -->
</body>
</html>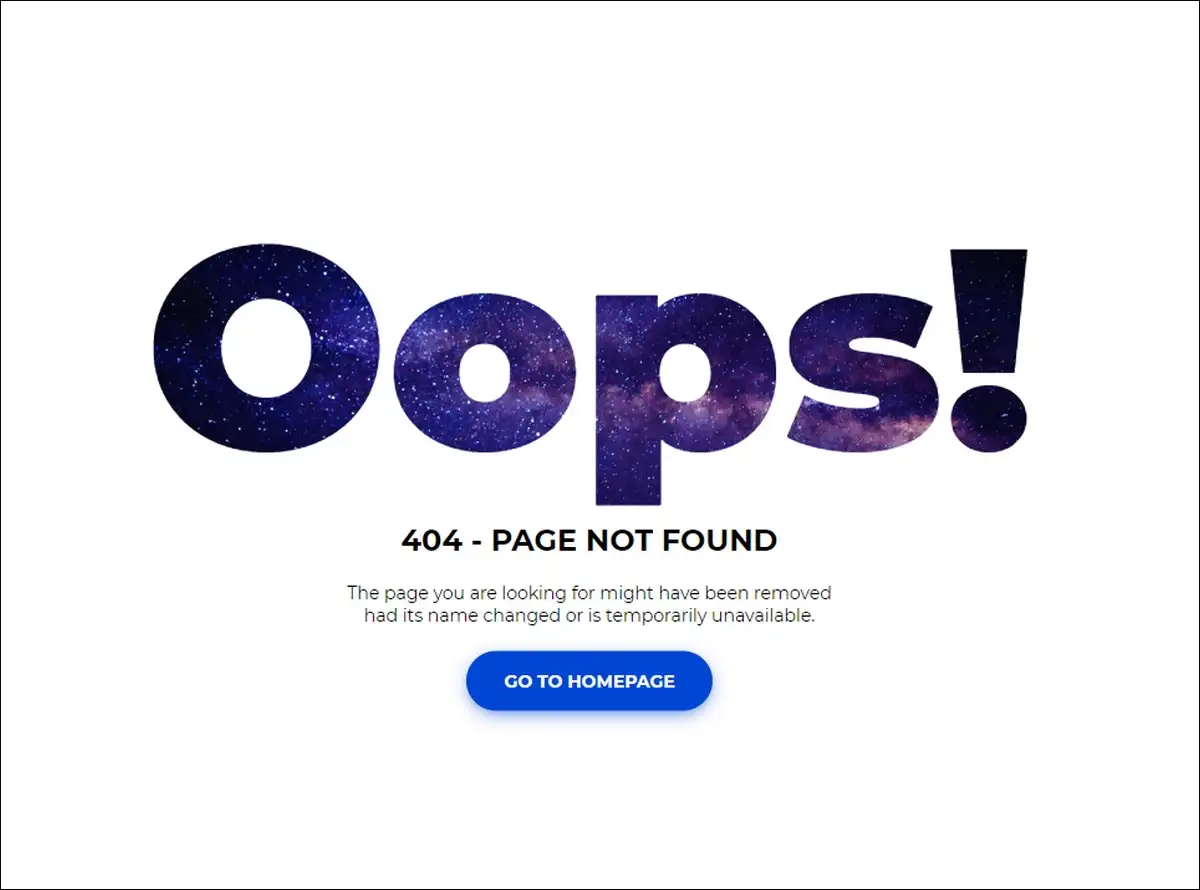
You keep the view lightweight. Heavy scripts or large images can slow the error response itself.
Method 2: Use Route Override for More Control
You gain extra flexibility when you need to log missing URLs or return different formats. The override runs instead of the default view.
Follow these steps.
- Open app/Config/Routes.php.
- Add the override line near the top of the file.
- Create a controller class if it does not exist.
- Write the method that returns your custom response.
- Test the result on a nonexistent route.
Add this line to your routes file.
PHP
$routes->set404Override('App\Controllers\Errors::show404');Create the controller at app/Controllers/Errors.php.
PHP
<?php

namespace App\Controllers;

use CodeIgniter\Controller;
use CodeIgniter\HTTP\RequestInterface;
use CodeIgniter\HTTP\ResponseInterface;

class Errors extends Controller
{
    public function show404(RequestInterface $request, ResponseInterface $response)
    {
        // Optional: log the missing URI for review
        log_message('error', 'Page not found: ' . $request->getUri());

        return view('errors/html/custom_404');
    }
}
Since version 4.5.0, the framework sets the 404 status automatically inside the override. You do not add extra header code in most cases.
When to pick this method
Use the override when you want to record every 404 for later analysis. It also works well for API endpoints that should return JSON instead of HTML. The simple view method works better for pure content sites.
After you set this up, you can move to the visual design.
Design Tips That Keep Visitors Engaged
A good 404 page feels like part of your site rather than an error. You achieve this with consistent styling and clear options.
- Use the same logo, colors, and fonts as the rest of the site.
- Write a short, friendly message that explains what happened.
- Provide direct links to the homepage and two or three popular sections.
- Include a search form so users can type what they want.
- Add a note about checking the URL in case of a typo.
These elements turn a dead end into a helpful moment. You test the page on mobile devices to confirm it remains readable and fast.
Handling Special Cases Like APIs
Basic design works for standard pages. APIs need a different response. You detect the request type inside the override method and respond accordingly.
You check the Accept header or the URI path. When the client asks for JSON, you return a JSON object with the 404 status. Otherwise, you can serve the HTML view. This approach prevents broken API integrations while still helping browser users.
Monitoring and Troubleshooting 404 Errors
You learn from the errors that occur. Add logging in the override method or review server logs regularly. Patterns often reveal broken internal links or outdated external references.
Common issues include forgetting to create the custom view file in the correct folder. Mixing CI3 route syntax with CI4 routing also causes problems. You test by deliberately visiting bad URLs in both development and production environments. Confirm the status code returns 404 in the browser developer tools.
Wrapping Up!
The dedicated error view method works well for most projects. It needs only one file change and keeps maintenance simple. The route override becomes the better choice when you require logging, conditional responses, or API support.
Both approaches follow the current CodeIgniter 4.7.3 recommendations and return proper status codes without extra effort.
You implement the view method first on a staging site. Then you decide whether the added control of an override justifies the extra file. Regular checks of your 404 logs help you fix real broken links over time.
In short, this small improvement often produces noticeable gains in how visitors and search engines perceive your site.
Frequently Asked Questions
How do I create a custom 404 page in CodeIgniter 4?
app/Views/errors/html/error_404.php.
The framework automatically displays this view and returns the correct 404 status code when a page is not found.
What is the difference between editing the error view and using set404Override?
$routes->set404Override() gives you more control, such as logging missing URLs or returning JSON responses for APIs.
Does CodeIgniter 4 automatically set the 404 status code?
How can I log 404 errors in CodeIgniter 4?
log_message('error', 'Page not found: ' . $request->getUri()); before returning the view.