How To Create A Bootable macOS Sierra Installer Drive
Since it’s more convenient for users, Apple software are distributed through the App Store. But the problem arises when one needs to install an OS in multiple systems. It’s because the process of downloading the new operating system on every Mac and then running the setup becomes quite long winded. So when it comes to installing an operating system in multiple Macs, the most convenient thing to do is take an external hard drive and make it into a bootable drive. In this article, we shall discuss how to make a bootable hard drive to install macOS Sierra onto your Mac.
Note that people commonly use their USB flash drives or data sticks to convert them into bootable drives. Also, it should be kept in mind that any USB drive with less than 5 GB capacity won’t cut it. You need a drive with a maximum capacity of at least 5 GB to make it bootable with macOS Sierra. Some folks also use external hard drives for this purpose. It’s better to make a bootable USB drive that could be used to install macOS Sierra on multiple systems.
Here Are The Steps You Need To Follow To Make A Hard Drive Bootable With Macos Sierra:
Step 1. Download The Sierra Beta Installer
Normally, one would download the beta version through the App Store, which goes straight to the Applications folder after the download is complete.But here is a catch: if Sierra is already installed on your system, the installer software won’t go to the Applications folder.
To counter that, you need to download the installer again after locating it in the Purchased tab. If the installer runs automatically after being downloaded completely, close it.
Step 2. Have An External Hard Drive Handy
For making a bootable drive, you need a hard drive or a USB flash drive that has enough room for the installer software. Note that the minimum capacity of the USB drive has to be 5 GB. The drive you use will be formatted automatically in the process of being converted into a bootable drive.
Must see:
Step 3. Create A Boot Disk Using The Terminal
After you have the installer software and a hard drive ready, you need to make the latter into a bootable drive using the Terminal of the Mac. The Terminal is really a very simple tool to work on, contrary to its popular image. After launching Terminal, copy the code provided below:
Note that you need to put the name of your external drive in place of ‘nameofyourdrive’ in the above code. Paste the given code at the prompt. If you are asked to enter the admin password, do it. It should be noted that Terminal won’t show the characters when you enter the passcode. After you’ve typed it in completely, press Return.
At this juncture, a message will appear on the screen telling you that the external drive shall be formatted if you go ahead. Press Y (to go ahead with formatting the drive) and press Return. After that, Terminal shall copy the installer file to your USB drive. Note that this process takes a while. After some time, Terminal will display a ‘Copy Complete’ and Done, meaning that the installer file has been successfully copied to your drive. Close the terminal after this step and get ready to install macOS Sierra.
Step 4. Booting From The Installer USB Drive
Plug the USB flash drive into the USB port of your Mac. Power it up Mac (you could also restart it if it was already powered on). Remember to press down on the Option key while the system boots. After a few moments, the Startup Manager should appear, where you could see the available boot drives. Select the external drive (where you put the installer file) and hit Return.
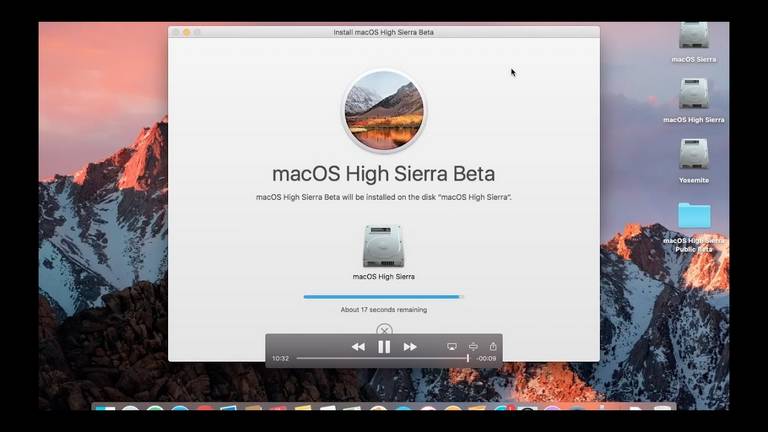
Following the above step, an OS X Utilities window should appear asking you whether you want to retain your old data or install a fresh copy of the operating system.
Now, if you want to keep your data intact, then select OS X. But if you want to erase all the data in that drive, you need to reformat the internal drive first by going into Disk Utility. After doing that, you can go ahead and install macOS Sierra. Wait for some time until the process completes, after which your Mac will be ready to use.
This operating system is quite popular with users, especially due to the addition of a few loved features including iCloud Desktop, Optimised storage, Siri and Documents. Not only that, MacOS Sierra helps you rediscover how you view and edit your photos and lets you work seamlessly between different programs at the same time.