How to hide a Wi-Fi network
In these times in which security and data privacy are being subject to bad actions by unscrupulous people, Internet connections do not escape from this situation. Therefore, it is necessary to take measures to increase your protection against intruders and one of the main ones is to know how to hide a Wi-Fi network.
How to hide the Wi-Fi network signal
Here are the methods to hide the signal of a Wi-Fi network for various router models or with the use of commands on Windows computers. And if you’re running a business, you can go for that customized mobile network solution to improve security and run your business smoothly.
How to hide the Wi-Fi network signal on a TP-Link router
To carry out the necessary procedure of hiding the signal of your Wi-Fi network on a TP-Link router, you should first take note of the data that can be seen on the router. Specifically, this is an Internet address with your username and password.
This information is usually displayed on a label located on the bottom back of the device. It is recommended that you take a picture of it to make it easier to save the data.
- The first step is to log in to your preferred browser.
- Then, in the address bar, you must enter the necessary data to enter the IP address of the router. You can do this either as a number or as an address http://.
- In this case, if your device is a TP-Link device, the label will show http://tplinkwifi.net. If you press the Enter button you will be presented with a window in which you will be asked for your username and password.
- In these fields, you must enter the data you take from the router’s label. For TP-Link models, this is usually: Username: admin and password: admin.
- It may happen that it is impossible to log in because you get an incorrect username or password message. This may be because you have previously assigned your own password and user name.
- If you don’t remember it because it happened some time ago, there is a way to solve it. It is to look on the back of the router for a discrete button labelled Reset.
- Once you locate it, press it for about five seconds while it is on. From this moment on, you will be able to enter the default data that comes with the device.
How to change the Wi-Fi signal configuration
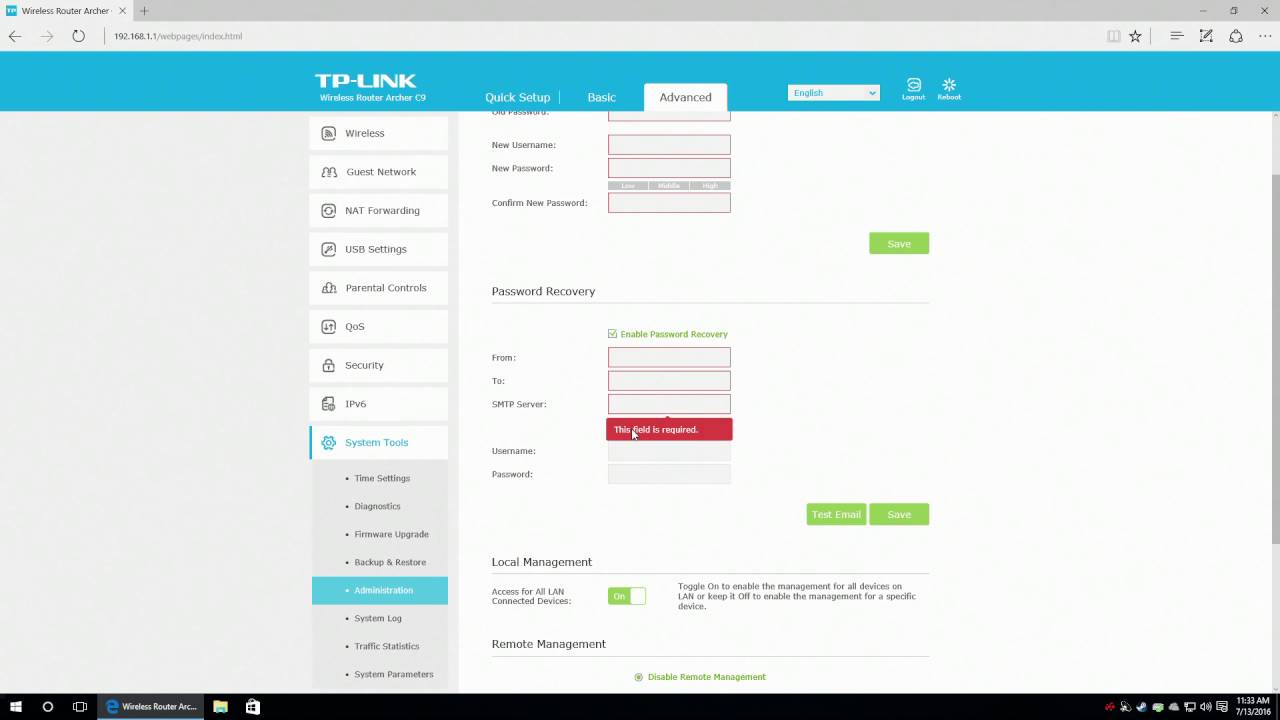
- Once you have entered the TP-Link interface, select the Wireless Network option and then Wireless Network Settings (this is where you can make changes to the wireless signal settings).
- At this point, proceed to uncheck the Hide SSID box. This will disable the visibility of the signal, and make it invisible.
- In order for the changes to be accepted, you must press Save.
- Red letters will be displayed with the explanation that the device must be rebooted for the changes to take effect.
- Finally, you will be prompted to click on the link shown. After this, click on Reboot. Wait a few seconds and you will have successfully hidden your Wi-Fi network signal.
How to hide the Wi-Fi network signal on a Linksys router
To hide a Wi-Fi network using a Linksys router, follow the procedure described below:
- The first step is to log in on a computer connected directly by Ethernet cable to the wireless router. In the case of laptops that primarily use the wireless connection, you must temporarily connect to the Internet via the Ethernet adapter. This is usually located on the back of the machine.
- Next, enter the Internet browser of your choice on your computer. Enter the IP address of the wireless router in the address bar and press enter. The address 192.168.1.1 is the address for Linksys routers.
- Enter the router’s username and password in the login window that pops up. Then press Enter to access the router’s administration menus. In this case, the username is left blank and the default password is admin.
- After this, click on the menu function that changes the wireless settings, called Basic Wireless Settings.
- Now complete the necessary option for disabling the wireless network name or SSID. Using the button with a radio symbol to Disable the function.
- Finally, you must save the changes to proceed to disable the broadcasting of the SSID, hiding your wireless network from others. Then close the router’s administration page.
How to hide your Wi-Fi network SSID using commands in Windows
To make a specific Wi-Fi network undetectable by the computer you are using, it is essential to hide the SSID of that network. This is usually done to ensure that a certain device no longer has access to Wi-Fi.
To hide or redisplay the SSID of a Wi-Fi network using MS-DOS commands on a Windows computer, the following procedure must be performed:
- The first thing to do is to log in to Cortana.
- After that, enter the CMD command and run the command prompt as administrator.
- When the terminal opens, the following command must be executed: netsh wlan add filter permission=block ssid=”Wi-Fi name” networktype=infrastructure.
- At this point, a message will appear indicating that the filter has been added to the system.
- When you need the computer to be able to detect one of these hidden Wi-Fi networks, you can reverse the situation by using the following command: netsh wlan delete filter permission=block ssid=”Wi-Fi name” networktype=infrastructure.
It can be seen that this process is a simple way to control which networks individual wireless equipment can connect to.
How to access a router to hide the Wi-Fi signal
It is important to keep in mind that the first step in hiding a Wi-Fi signal is to be able to log into the router. To do this, the IP address must be entered into the browser. The most commonly used are: 192.168.0.1 or 192.168.1.0. It is also possible that the router address is 192.168.1.1.
If you have a carrier router, there is most likely a sticker on the bottom of the router with the address. Otherwise, you will need to locate the gateway that has the address. The steps are as follows, depending on your computer’s operating system:
Windows 10 computers
- If you have Windows 10, the first thing to do is to enter the CMD command in the Cortana application.
- Next, you must enter ipconfig in the new window that appears.
- Among the data displayed, the one you should be interested in is the one that comes up as Gateway.
MacOS computers
- If you have a Mac, go to the System Preferences option.
- After that, go to Network and then TCP/IP.
- Finally, in the Router section, you will find the address you are looking for.
- Once this address is typed in, the web browser will present you with a screen asking for your username and password. This is not the password for the Wi-Fi, but for the router. If it is an operator router, this information is most commonly found on a sticker on the bottom of the device.
- If it is a neutral router, it will most often work with one of the combinations between admin and 1234. If it is not possible to log in with these combinations, it is recommended that you search the Internet for the router model in order to find out the default username and password.
How to protect your hidden Wi-Fi network
Now you will have your network invisible to other people. If you want to be sure, you can use any computer and try to locate your Wi-Fi network.
You will see that your network no longer appears in the list of available signals and if it does, it will indicate that it is out of range.

If you want to protect your hidden Wi-Fi network from people who already know its name you must first repeat the process to enter the router’s IP and continue with these steps:
- Once you have entered the IP go to the Wireless Security function.
- Then check the WPA/WPA2 checkbox.
- In the password entry box, you must enter your password. You should create a password that cannot be easily cracked and is between 8 and 63 characters long.
- After that, click on the Save button and then you will be prompted for the reset button. This will validate the changes made. Finally, wait a few seconds and you will have protected your Wi-Fi network signal.
How to connect to the hidden Wi-Fi network
When you hide the Wi-Fi network, you prevent another device from detecting it and presenting it in its list of wireless networks in range. This prevents someone nearby from stealing your signal, as it will not be visible.
Many users will question whether it is possible to connect to a hidden network if it is not listed among the available Wi-Fi networks. To connect to a hidden network, follow the steps below:
- First, click on the Internet access icon on the taskbar.
- Once the list of Wi-Fi networks that are within your reach appears, go to the bottom of the screen.
- Then click on the Hidden network option, which is presented as another network.
- At this point you need to click on the Connect Hidden Wi-Fi option.
- You will now be prompted to enter your name or SSID. Hence the importance of having saved this name very well.
- The next step is to enter your Wi-Fi password.
- Now, after waiting a few moments you will have connected to the hidden network in your home without it being seen as available.
How to manually connect a device to a Wi-Fi network with a hidden SSID
It is worth remembering that devices that were previously connected to the network before it was hidden will still be able to connect automatically. The rest of the devices must be connected manually. To do this, the following processes must be followed:
Windows
- In the case of Windows 10, the steps to follow are as follows:
- First of all, you have to go to the System Settings panel. You do this by pressing the gear icon located in the Start menu.
- At this point, you will enter the Network and Internet section.
- Next, in the left-hand panel, you have to press on Wi-Fi.
- After this, you need to choose the Manage known networks option.
- Once the new menu appears, you have to click on the Add a new network function.
- Now a window will pop up where you need to manually enter the name of the Wi-Fi network, as well as the security type and the access password.
- If you do not know the type of security used, you can check this by logging into the router and checking the wireless network settings. In most of the latest home routers, the default security is AES WPA2-Personal.
Android
In case the connection is made from an Android mobile device the process is similar. The steps are as follows:
- The first step is to enter the Settings menu.
- Next, you have to navigate to the Networks and Internet option.
- After this, you select the Wi-Fi option and then the Add network option.
- This selection will direct us to a screen where we must add the name or SSID of the network, with the type of security and the password.
Conclusions
Through the application of these methods, you will be able to hide your Wi-Fi network from outsiders, thus preventing intruders from accessing it in order to make improper use of it.
You will also be able to access a network that you cannot see, as long as you know its name, password and security type.